Creating individual management panels for Plesk reselling
This article explains how to create and provide access to specific subscriptions in the Plesk administration panel.
Introduction
This tutorial explains the procedure by which a reseller provides access to a user, only for a specific domain/subscription in the Plesk administration panel.
Requirements:
- a VPS with Plesk control panel
- access data with ADMIN privileges
Steps to follow:
- after successfully logging in as an ADMIN user in the Plesk panel, the main domain on which individual access is desired will be added to the server according to Adding an additional domain in Plesk
- subsequently, the newly added domain will be found on the main page of the Plesk panel.
- to create an independent access only for the new domain, you access
 from the menu located on the left side of the main Plesk page.
 - on the page that will be displayed, select

- The fields in the next window will be filled in as follows:
In the "Contact name" field, the name of the domain holder is filled in. 
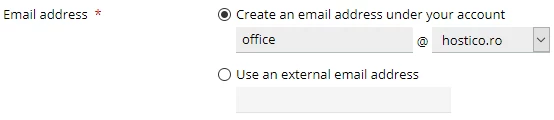
In the "Email address" field, enter the email address of the domain owner demo@hostico.com or an external email address by selecting the "Use an external email address" option.
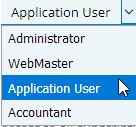
In the "User role" field, "Application User" will be selected.
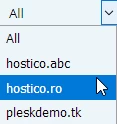
The field "" determines the account that the new user will have access to. !!!WARNING here, only the client's domain for which access is being created should be selected.
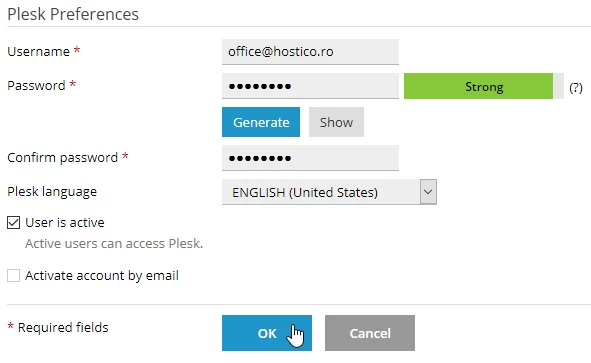
The user with which the connection will be made in the new account is the email address set at "Email address", a password will be entered and confirmed for it after which "OK" is pressed
- after completing these operations, a confirmation message will be displayed.

- At the bottom of the page, a table with all users on the server will appear, from which the newly created user will need to be selected.

- on the next page, from the button
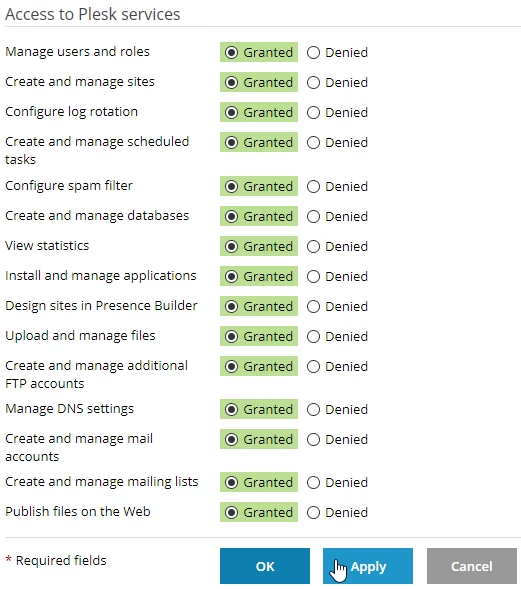
 you will be able to edit the privileges granted to the new user.
 - after selecting/deselecting the desired privileges, the "Apply" button is pressed followed by "OK"
The login details that will be sent to the user are:
- the connection link in the form of domain: port example demo.hostico.ro:8443
- the login user consisting of the email address set during account creation
- password set at account creation