Tutorials • WordPress
Manual WordPress Installation
Learn how to manually install WordPress step by step, from downloading the archive to setting up the database and completing the installation.
7
Views 4775Updated 1 anPublished on 11/04/2018by Florin P.
Introduction
This tutorial explains the necessary steps for the manual installation of the WordPress platform.
Requirements
- Access to the cPanel account.
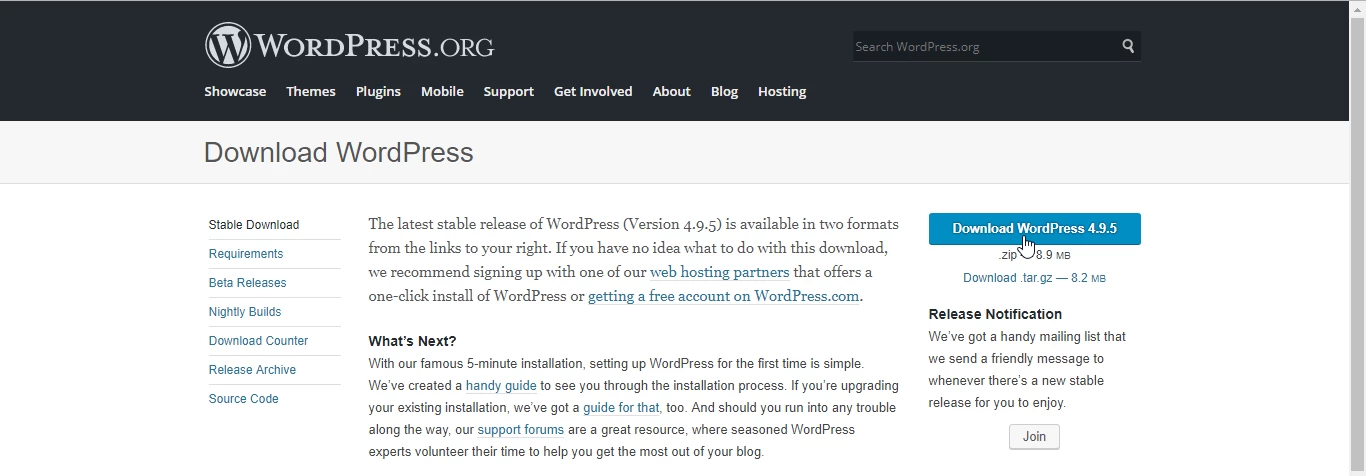
- WordPress archive, which can be downloaded from the official page: https://wordpress.org/download/ .
- MySQL database, database user, and the associated password.
Steps
1. Downloading the WordPress Archive
- Access the official page https://wordpress.org/download/ and download the archive by clicking the Download WordPress button.
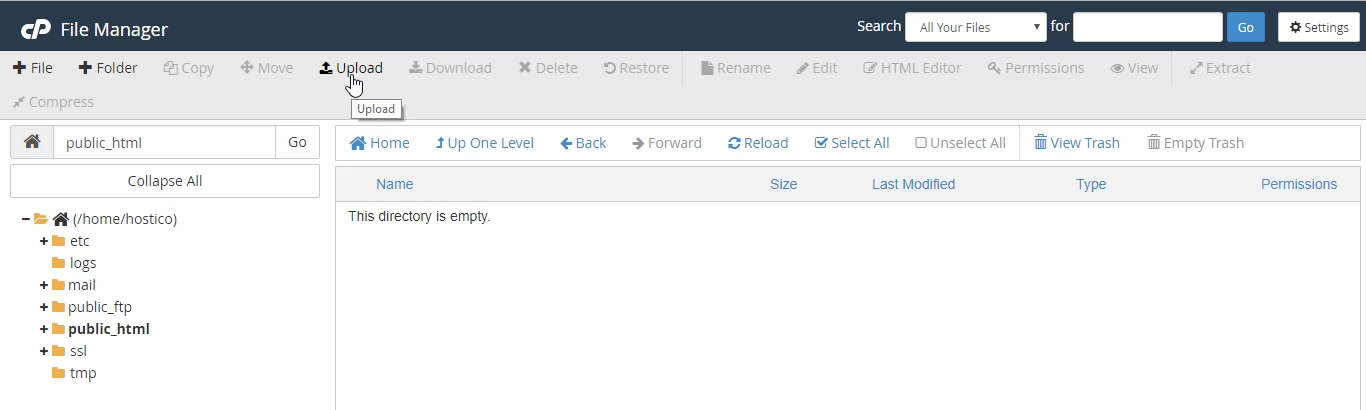
2. Uploading the archive in cPanel
- Log in to your cPanel account, then navigate to the File Manager section.
- In File Manager, access the
public_htmldirectory or the directory related to an addon domain/subdomain, then upload the WordPress archive. - Click on Upload and select the downloaded file locally.
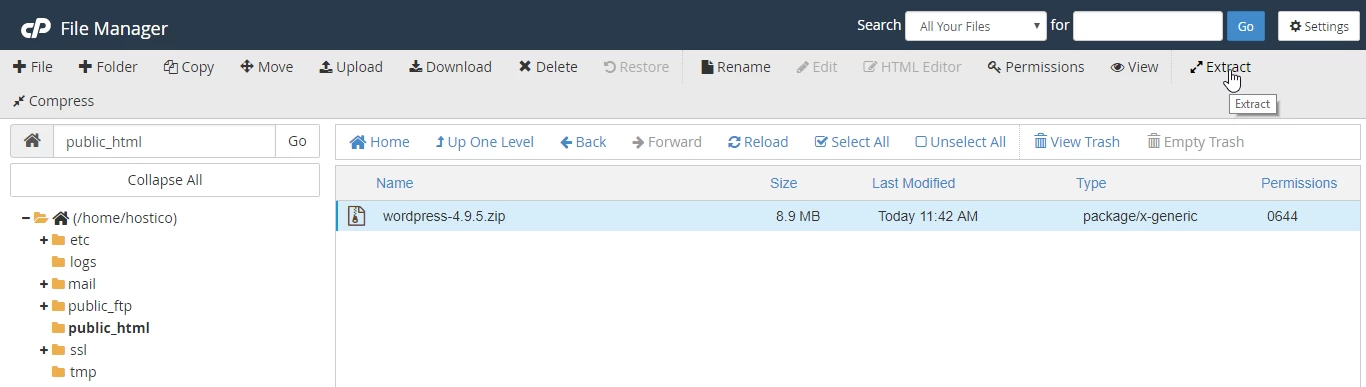
3. Extracting files
- After uploading the archive, return to the
public_htmldirectory, select the archive, and click on Extract. - Choose the location where you want to extract the files, for example, in
public_html.
4. Moving the files to the correct directory
- The extracted files will be placed in a subdirectory named
wordpress. Select all files in this directory and move them topublic_html. - Use the Move button and change the path from
/public_html/wordpressto/public_html.

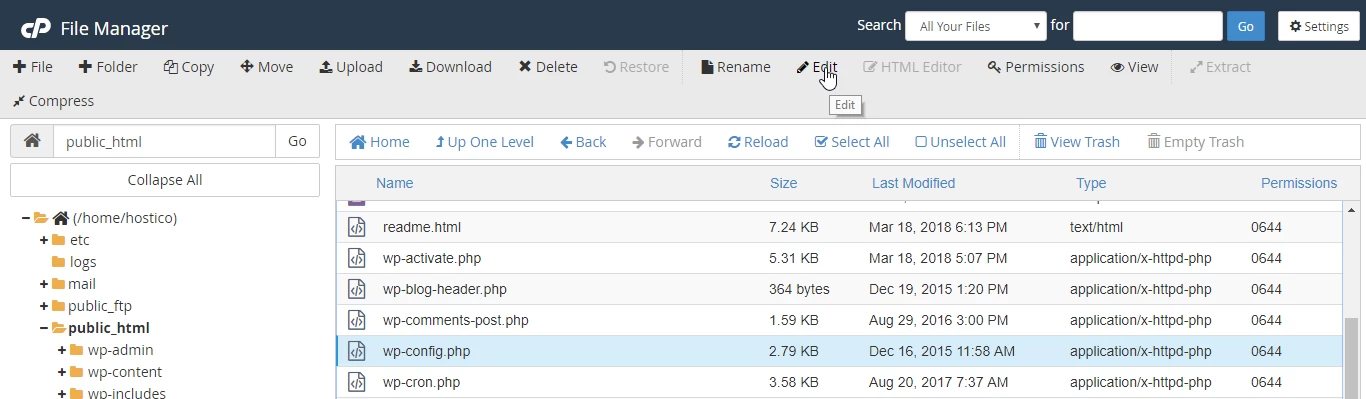
5. Configuring the wp-config.php file
- Rename the file
wp-config-sample.phptowp-config.php. Select the file, click on Rename, enter the new name, and confirm. - Edit the
wp-config.phpfile to enter the database details:define('DB_NAME', 'database_name');define('DB_USER', 'database_user');define('DB_PASSWORD', 'database_password');
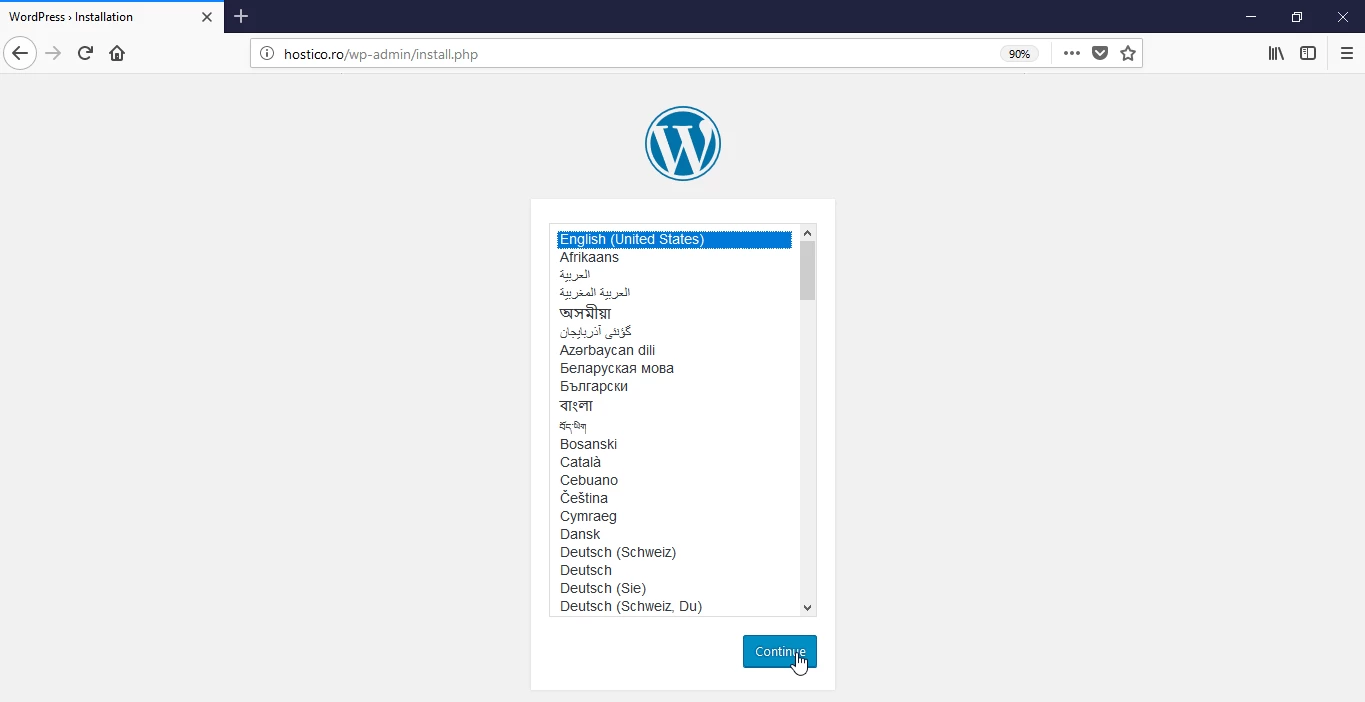
6. Completing the installation
- Access your domain in a browser (e.g.
https://hostico.ro) to initiate the WordPress installation. - Select the desired language and follow the steps in the installation interface to set up the user, password, and email address.
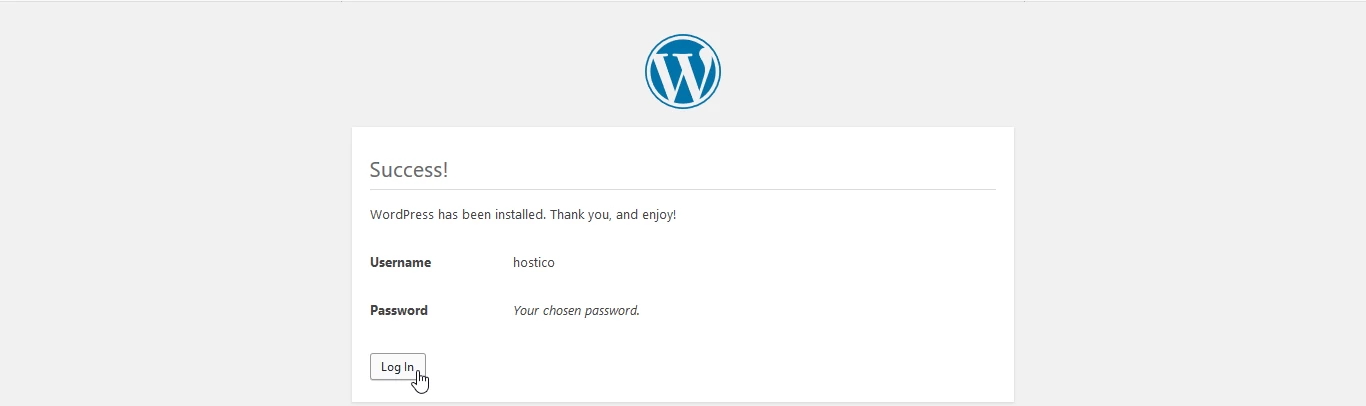
- After completing the installation, you will receive a confirmation and you will be able to access the WordPress admin panel by clicking on Log In.