Tutorials • Webuzo
Creating a backup in the Webuzo admin panel
Learn how to create a backup in Webuzo with this simple tutorial. Discover the necessary steps to protect your website, database, and emails.
Views 896Updated 1 anPublished on 22/09/2020by Florin P.
Introduction
- In this tutorial, we will show you how to create a backup in the Webuzo administration panel. The Webuzo backup section is only available in the premium version of the Webuzo administration panel and requires a monthly license payment.
Requirements
- Access to the Webuzo admin panel, username and password.
Steps
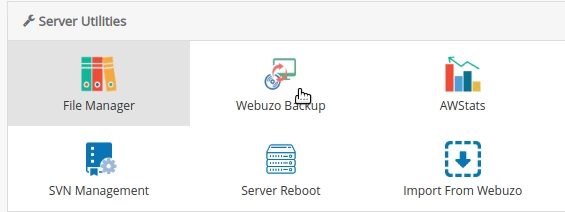
- After logging into the admin panel, we will go to the Server Utilities section, click on Webuzo backup.
- In the page that will open, we can generate a complete backup for our service with a single click. This will include the website, database, and emails.
- In the tabs below we can select Full backup, Home backup, Data backup, Mail backup, Schedule Backups, Backup Servers, and logs.
- Full backup - the backup includes the website, database, and emails.
- Home backup - will only include the directory /home/admin.
- Data backup - will include the database.
- Email backup - will only include files related to email accounts.
- Schedule Backups - the ability to create scheduled backups.
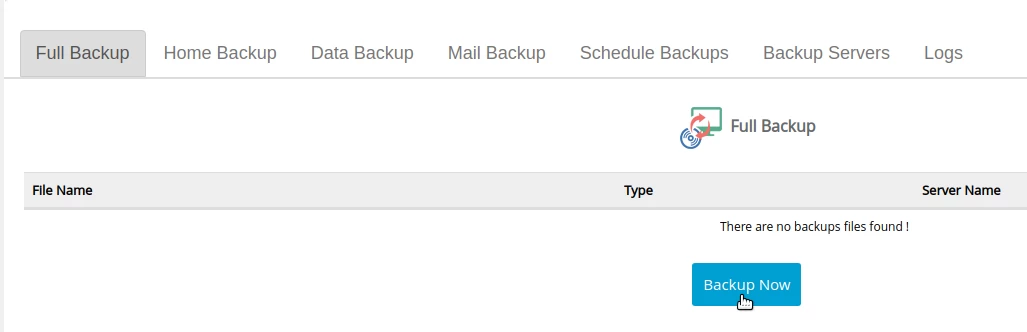
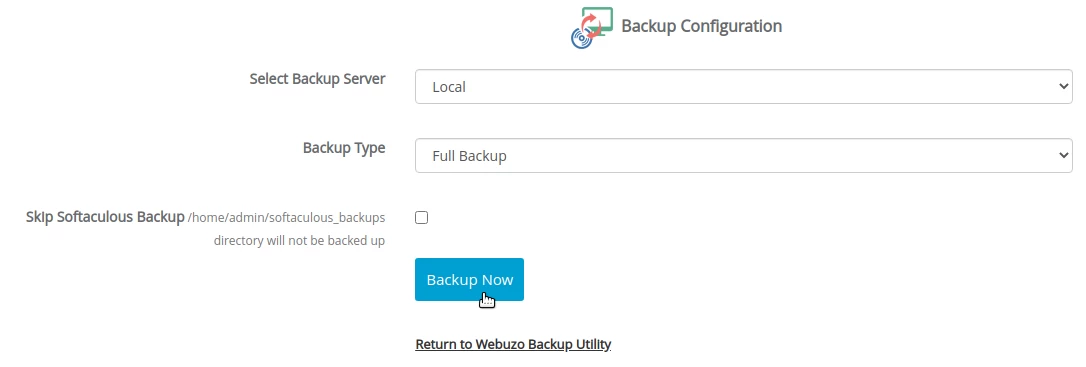
- To start the backup process click on Backup Now.
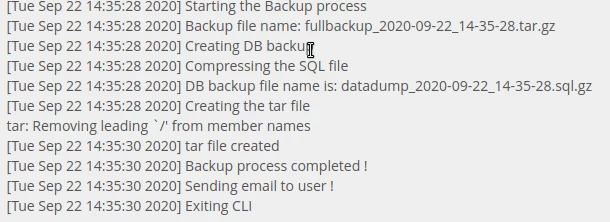
- In the logs section on the same page, the backup process can be monitored.
- Backup can be viewed in the list after its completion.

- Here we can delete, restore, and download the archive that contains the backup.